Installation Guide
It's really easy to install ZesleCP control panel and it only takes up to 8-10 minutes.
Our support team is available, feel free to contact us here or email us at zeslecp@gmail.com.
Steps
-
Connect to SSH Terminal — Open any SSH terminal (ex: PuTTY), connect to your Ubuntu/CentOS server and login as a
rootuser. -
Run install command — Copy-paste the following command into SSH terminal and hit Enter key.
cd /home && sudo curl -o latest -L http://release.zeslecp.com/latest && sudo bash latest
Hit enter after pasting the installation command. Once the installation is started, wait for the 8-10 minutes for the installation to complete.

-
Installation Completed — You will see all the details in the terminal after the installation has finished. See the example screenshot below.

-
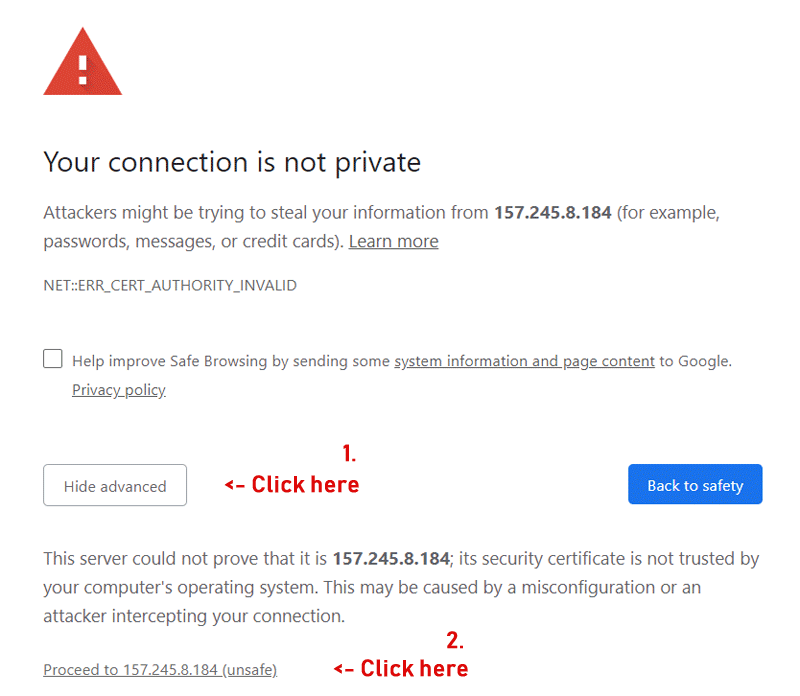
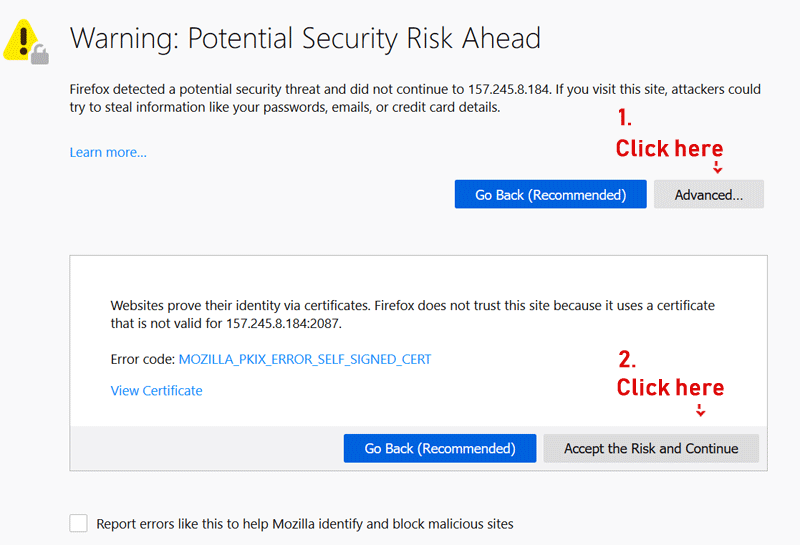
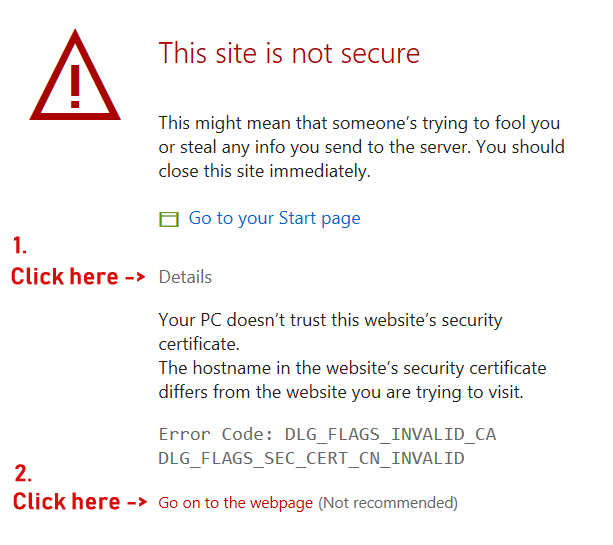
Open the control panel — Open control panel link, as mentioned in your terminal at point 2., in your browser. Ex:
https://YOUR-SERVER-IP:2087This might show you the "Site is not secure" or "Potential risk" warning. You can safely ignore it because there is nothing to worry about. See the example screenshots of different browser windows below:
-
Login — You should see ZesleCP login screen now. Username
rootand password (received from the installation process in command-line terminal).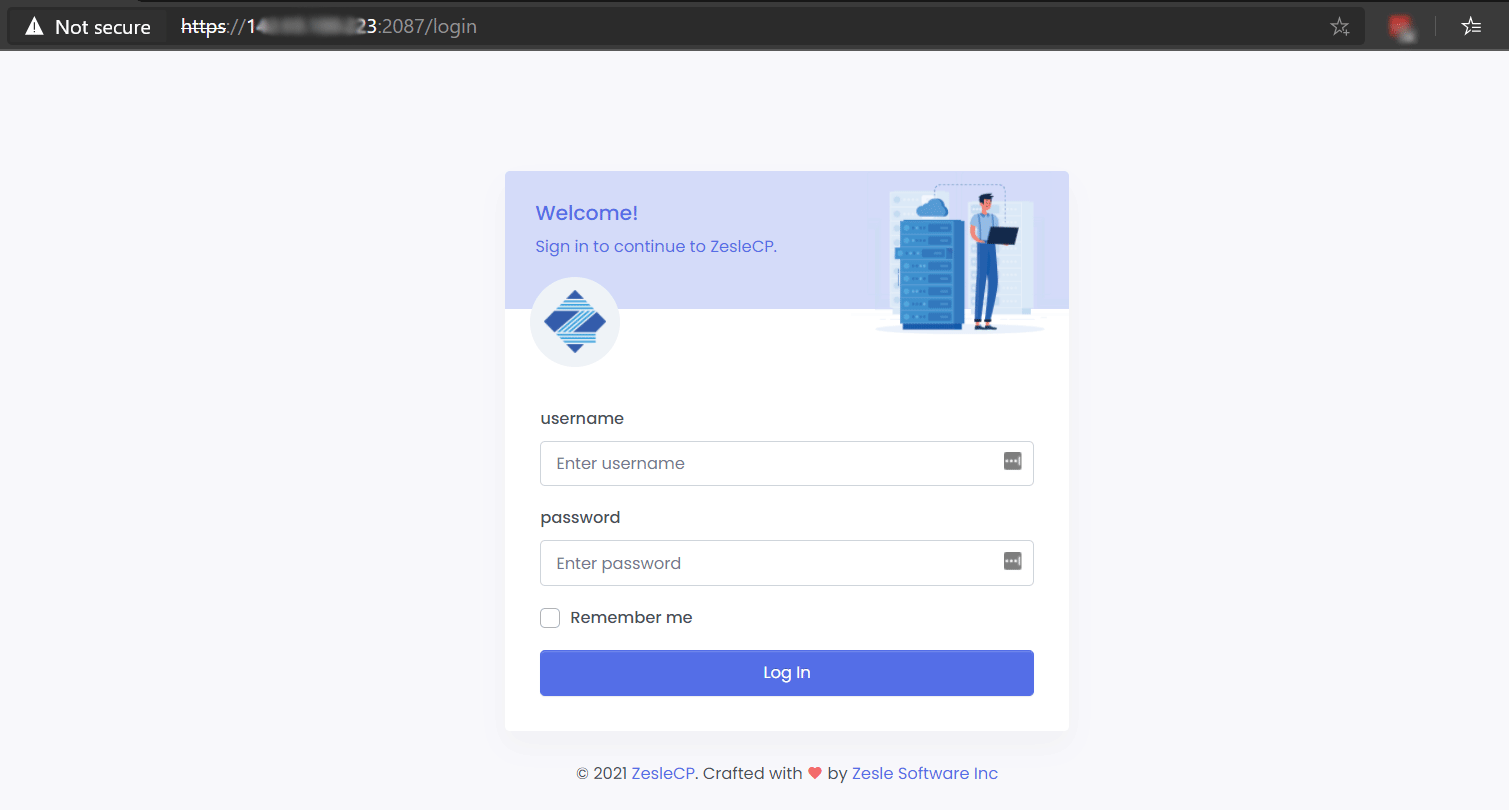
-
Licence - After login, you need to get your licence. Get one from here.
-
Custom Nameservers - Optionally, you can configure your own custom nameservers.
-
Create Your First User Account (this step is mandatory).
- Currently, you are logged in as a
rootuser and accessingAdmin Area. - Navigate to
Account Information>List Accounts. - Create your first User Account to access the
User Area. - Now, login into your User Area with the user account that you just created.
- In User Area, you can add your Domains, Email Accounts, Databases, and all other stuff
- Currently, you are logged in as a
You are all set. Enjoy your new ZesleCPv3 Control Panel.