Modify DNS Zones
To modify DNS zones:
- Log into the desired user account.
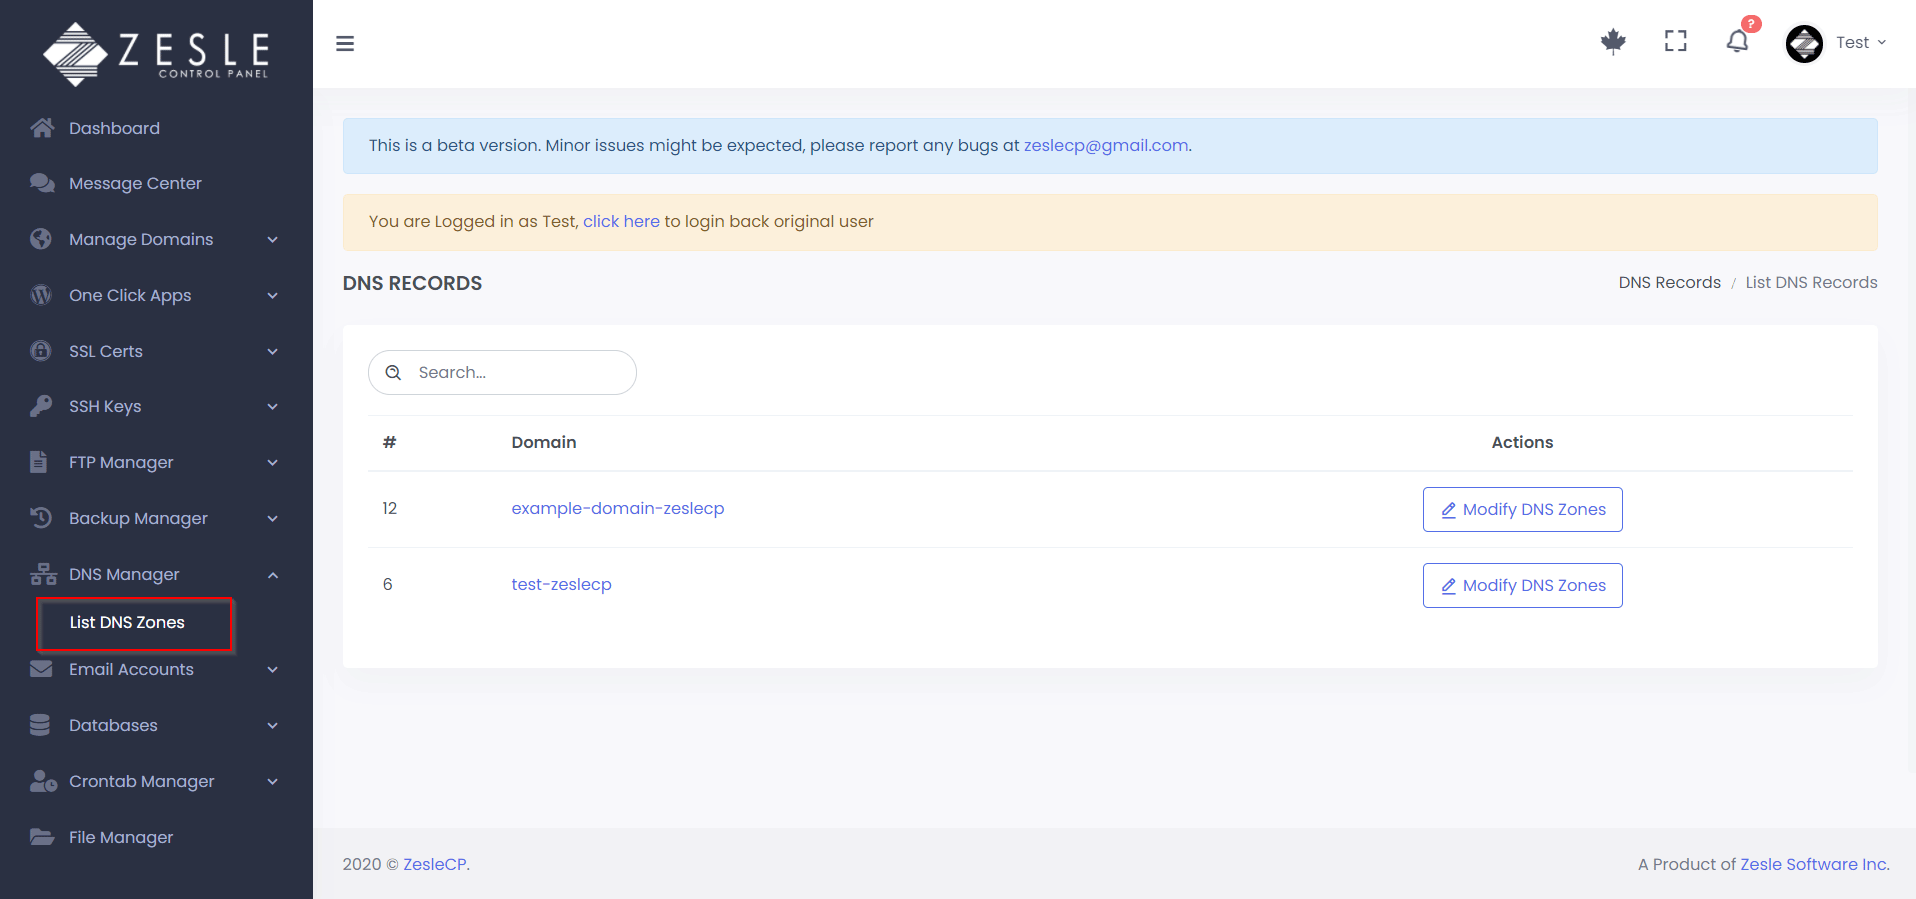
- Navigate to
DNS Manager>List DNS Zones. - Click "Modify DNS Zones" button next to the Domain you want to modify.
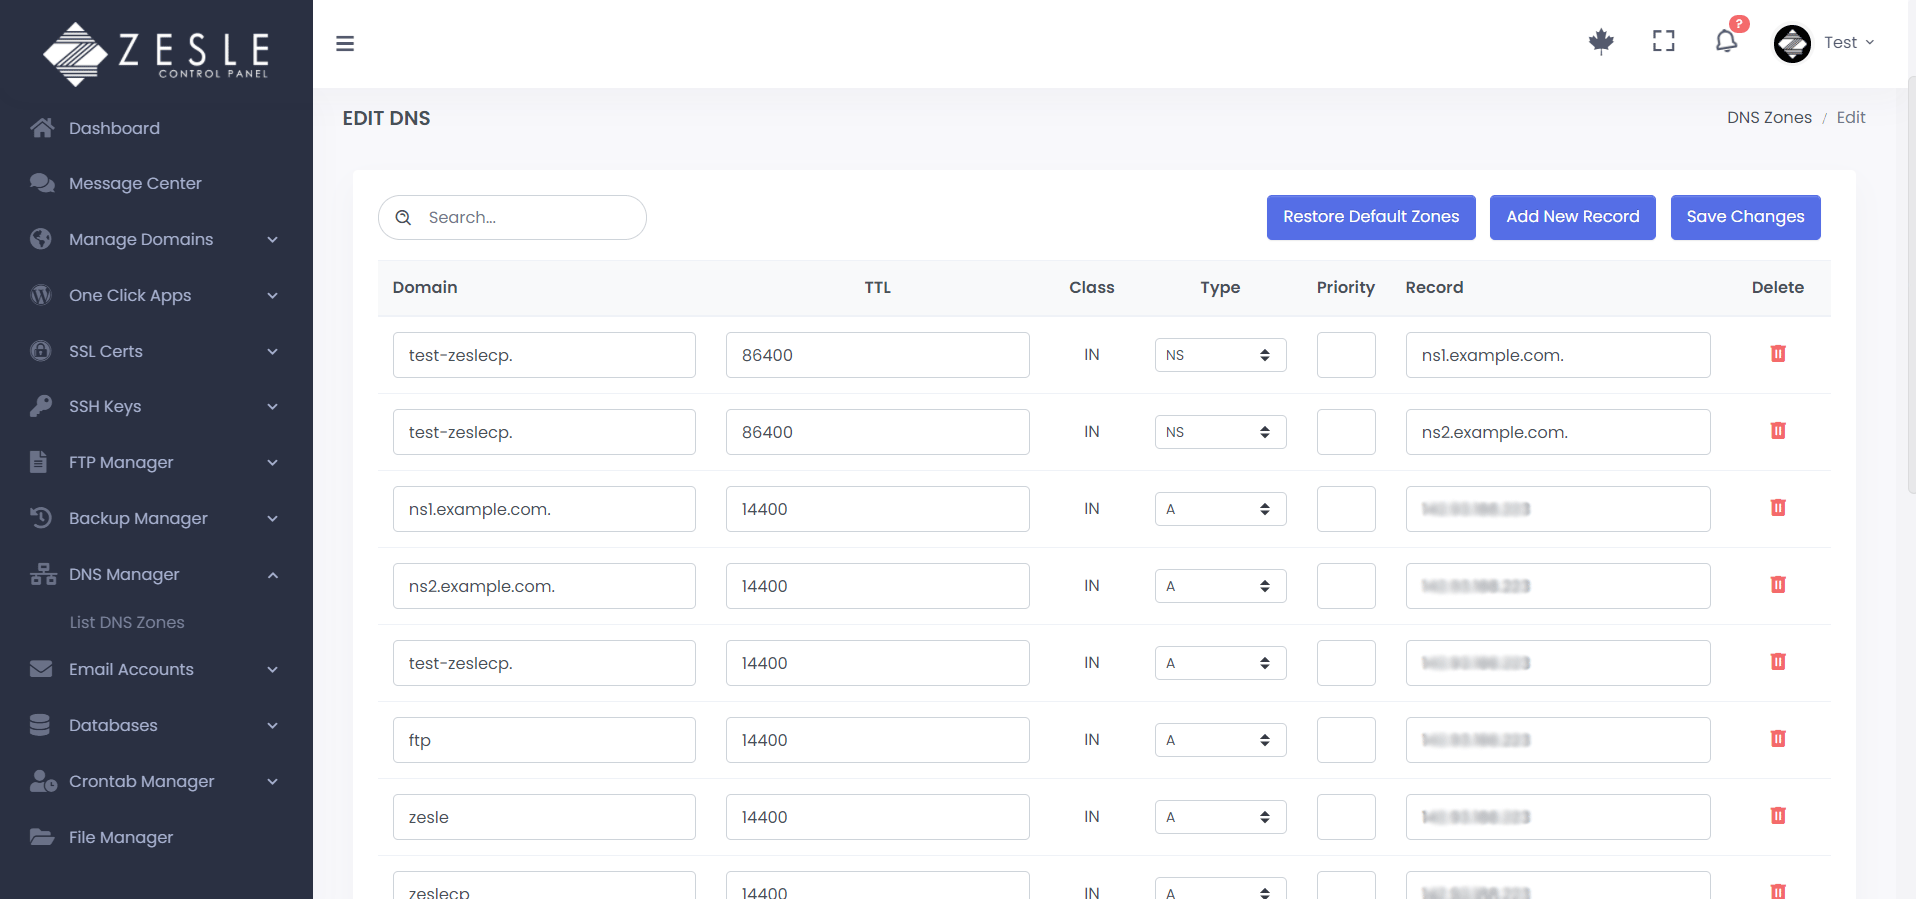
- On this next page all the DNS records are listed with the option to delete record or edit the following:
- Domain
- Time to live
- Type (NS, A, MX, CNAME, SPF)
- Priority
- You can edit all these fields as needed and then click "Save Changes" button to apply the changes.
Note:
ZesleCP automatically generate DNS records when you add any domain, sub-domain or change any related settings.
Most of the time, you do not need to edit anything here.
Custom MX Records:
To set your own custom/3rd-party MX records, Go to
Manage Domains and edit your domain then select
"Remote Mail Exchanger" under "Mail Routing Settings" options.
Remember:
If anything went wrong or you deleted or unintentinoally changed any records, you can always restore default
values by clicking on
Restore Default Zones button. DO NOT forgot to click Save
Changes after that.
Screenshots
Modify DNS Zones